
To make adult diaper changes faster and cleaner, organize your supplies beforehand and choose a flat, stable spot like a changing table or countertop. Guarantee good lighting, keep waste containers nearby, and use privacy screens for comfort. Follow a consistent routine, remove soiled diapers carefully, and dispose of them immediately. Keep essentials within reach to speed things up. For more tips on optimizing your setup, keep exploring these useful strategies.
Key Takeaways
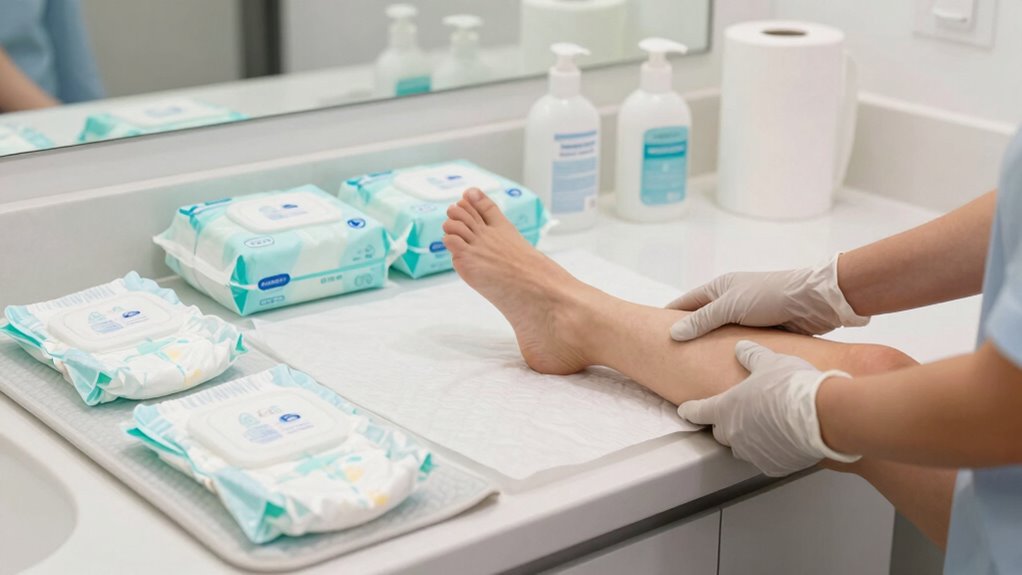
- Organize all supplies nearby, including diapers, wipes, gloves, and disposal containers, for quick access during the change.
- Choose a stable, flat surface with good lighting and privacy to ensure safety and efficiency.
- Prepare a clean, clutter-free workspace with proper disposal bins and easily reachable cleaning tools.
- Follow a consistent, step-by-step routine to minimize delays and maintain hygiene standards.
- Regularly check and replenish supplies, and use leak-proof diapers and proper disposal methods to keep the area clean and odor-free.
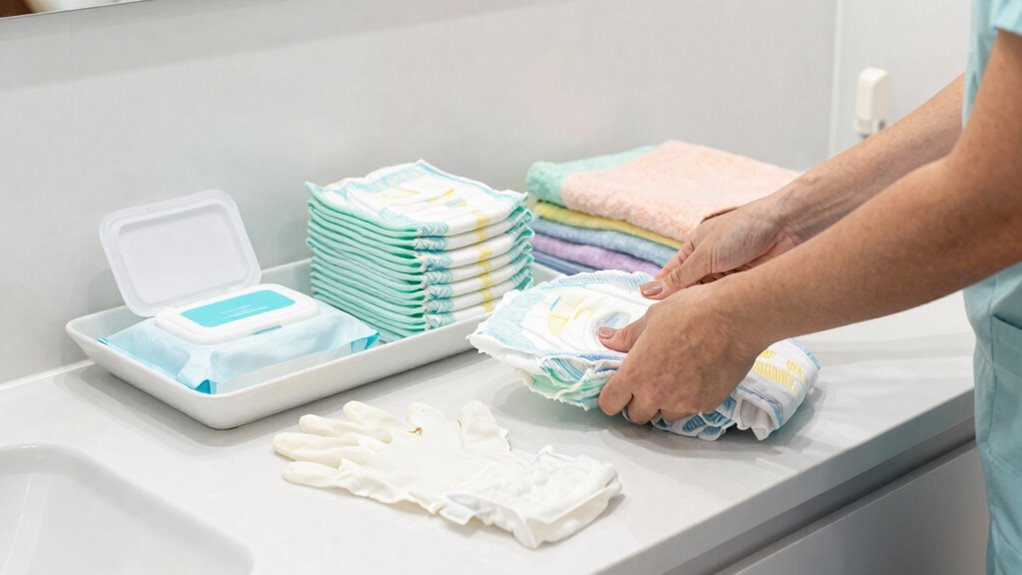
Gather Supplies and Set Up Your Changing Area

Before you begin changing an adult diaper, it’s important to gather all the necessary supplies and set up a safe, comfortable workspace. Start by collecting fresh diapers, cleaning supplies like wipes and gloves, and a secure container for diaper disposal. Having everything organized nearby will make the process smoother and reduce stress. Make sure the area is clean, flat, and private to ensure safety and comfort. Keep a trash bag or diaper disposal container close for quick, hygienic disposal of used diapers. Using the right cleaning supplies helps maintain hygiene and prevents infections. Double-check that you have everything before starting, so you won’t need to leave the area mid-change. Proper bedroom organization can also contribute to a more efficient setup. Being prepared creates a streamlined process that’s faster and cleaner. Additionally, ensuring pet training equipment is stored properly can help maintain a tidy environment and reduce clutter. Maintaining a clutter-free space can also facilitate easier access to essential supplies and improve overall caregiving efficiency. Remember that a well-organized space can also help reduce stress during caregiving and promote a calmer environment. Taking a moment to plan the layout of your changing area can further enhance the process and ensure everything remains within reach.
Pick the Best Spot for Easy, Safe Diaper Changes

Choosing the right spot for diaper changes makes the process safer and easier. Look for a level surface to prevent accidents, and pick a location with good lighting so you can see clearly. Avoid busy areas to keep the change private and stress-free. Additionally, selecting a spot with appropriate environmental factors can make the environment more comfortable and fitting for a Victorian steampunk roleplay setting. Incorporating ergonomic considerations can also help reduce strain during frequent diaper changes, making the process more efficient and less tiring. Ensuring the area is clean and sanitized contributes significantly to maintaining hygiene and safety during each change. Being aware of Gold IRA markets can also inspire you to create a luxurious and secure setting that reflects both safety and sophistication.
Choose Level Surface
Finding a level, stable surface is essential for safe and easy diaper changes. A flat surface provides a sturdy foundation, reducing the risk of slipping or falling. Look for a spot that remains steady even when you move. The right surface keeps your hands free and minimizes mess. Consider the following options:
| Good Surface Options | Less Ideal Choices |
|---|---|
| Changing table with guardrails | Soft mattress or bed |
| Sturdy countertop | Uneven or wobbly furniture |
| Solid, flat floor | Cushioned or unstable surface |
| Bathroom counter or dresser | Sloped or unstable surface |
Choosing a flat, stable surface helps you work efficiently and safely, making diaper changes quicker and cleaner. Proper surface stability is crucial for preventing accidents during diaper changes.
Avoid High Traffic Areas
Selecting a quiet, low-traffic spot for diaper changes helps you stay focused and reduces the risk of accidents. Traffic awareness is vital to prevent interruptions that could cause spills or falls. Choosing an area with minimal foot traffic also respects privacy considerations, making the process more comfortable. To find the best spot, consider these factors:
- Proximity to essential items for quick access
- A secluded corner away from main walkways
- Stable, level surfaces free from clutter
- Ensuring good projector placement helps maintain a comfortable and efficient environment.
Ensure Good Lighting
Good lighting is essential to guarantee you can see clearly during diaper changes, reducing the risk of accidents or missed steps. A well-planned lighting setup ensures safety and efficiency. Choose a spot with bright, even illumination, ideally near a power source. When considering bulb types, LED bulbs are energy-efficient and produce minimal heat, while incandescent bulbs offer warmer light. Use a combination of overhead and task lighting for ideal visibility. Here’s a quick comparison:
| Bulb Type | Benefits | Drawbacks |
|---|---|---|
| LED | Bright, energy-saving, long-lasting | Higher upfront cost |
| Incandescent | Warm light, inexpensive | Less energy-efficient, shorter lifespan |
Select a spot with adjustable lighting to adapt as needed, ensuring clear visibility at all times. Properly understanding lighting options can make diaper changes quicker and safer. Additionally, choosing the right lighting fixtures can further enhance visibility and safety during diaper changes. Incorporating adequate illumination is also crucial for reducing eye strain and maintaining a safe environment. Being aware of lighting placement can help in creating an optimal setup that minimizes shadows and glare. Paying attention to lighting angles can further improve overall visibility and comfort during diaper changes.
Organize Your Space for Efficiency and Hygiene
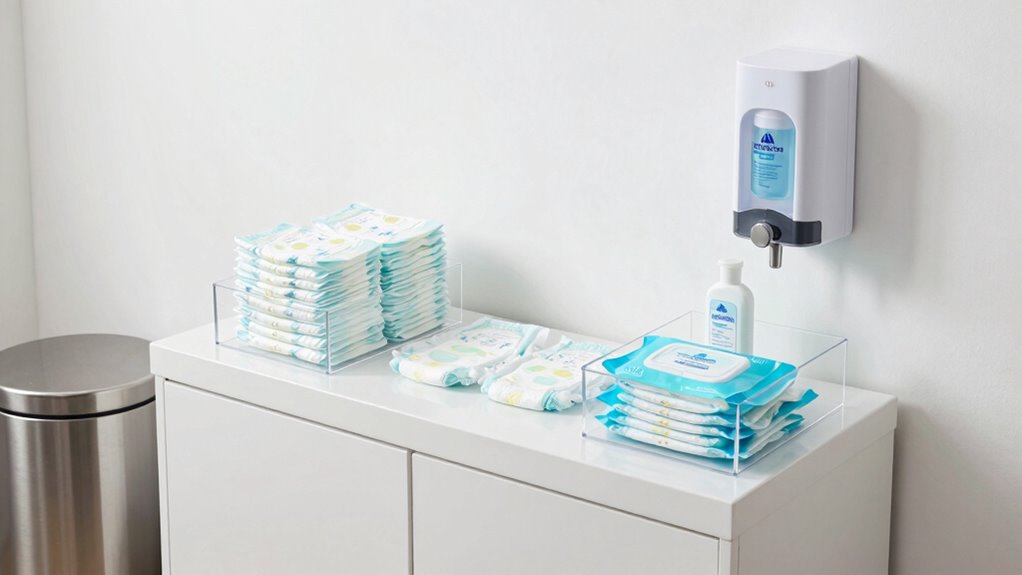
To maintain efficiency and hygiene during adult diaper changes, organizing your space is essential. A well-structured area minimizes the risk of contamination and respects privacy considerations. Start by arranging supplies within easy reach to streamline the process. Consider these key points:
- Designate a specific spot for disposal methods, such as a lined trash bin, to keep waste contained and odors controlled.
- Keep cleaning supplies nearby to quickly sanitize the area after each change.
- Ensure your setup provides privacy, with a curtain or screen, so both you and the caregiver feel secure.
- Regularly check and replace supplies and equipment to ensure they are in good condition and readily available. Incorporating golf heritage insights can inspire a more organized approach by emphasizing consistency and routine, which are crucial in maintaining hygiene standards. Establishing a routine can significantly improve efficiency and reduce errors during diaper changes. Additionally, implementing sustainable fabric care practices, such as using eco-friendly cleaning solutions, can contribute to a healthier environment and safer routines. Proper organization not only speeds up diaper changes but also maintains hygiene standards, creating a safer, more comfortable environment.
Follow a Simple Routine to Change Diapers Faster
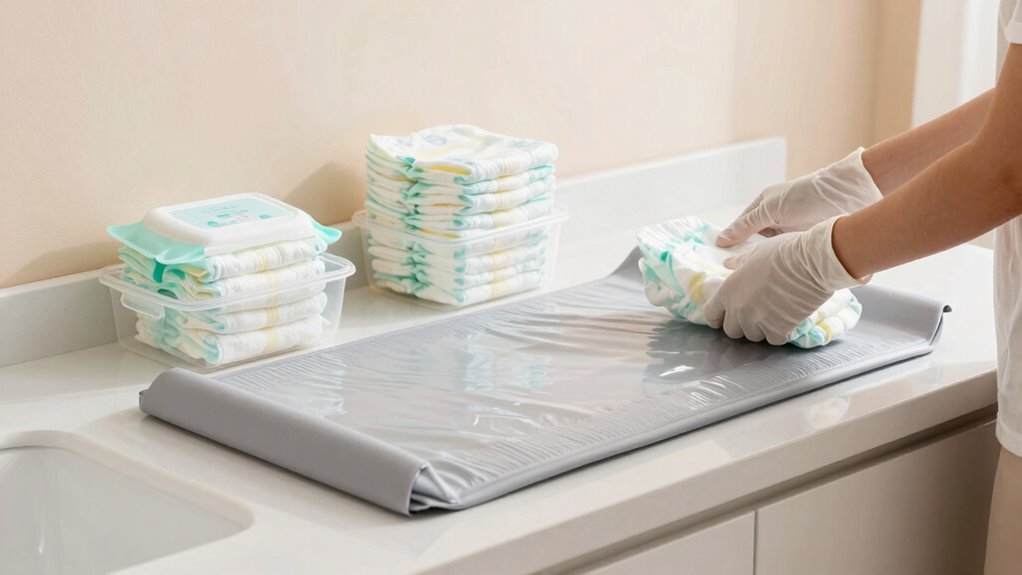
Following a simple, consistent routine can considerably speed up adult diaper changes and reduce stress for both you and your caregiver. Start by gathering all necessary supplies beforehand, including clean diapers, wipes, and skin care products. When changing, remove the soiled diaper carefully, then immediately proceed with diaper disposal to prevent messes. Use efficient skin care techniques, such as gentle cleaning and applying barrier creams if needed, to protect skin and prevent irritation. Keep movements steady and organized, following the same steps each time to build muscle memory. This consistency minimizes delays and makes the process smoother. Additionally, ensure proper airflow around the area to enhance comfort and hygiene, as recommended in air purifier maintenance practices. By sticking to a routine, you’ll find diaper changes quicker, cleaner, and less stressful for everyone involved. Incorporating backyard transformation essentials like proper seating and outdoor setup can also make the environment more comfortable for caregivers during longer tasks.
Troubleshoot Common Setup Problems to Save Time

Setup problems during diaper changes can slow you down and cause unnecessary frustration. To keep things efficient, troubleshoot common issues upfront.
- Make sure your diaper disposal area is close and organized, so you don’t waste time searching. Use a sealed container to improve odor control and prevent leaks.
- Double-check that all supplies—wipes, creams, and extra diapers—are within arm’s reach, avoiding awkward pauses.
- Test your setup for leaks or misaligned fasteners before starting, so you don’t have to redo the change. These small adjustments help prevent delays, streamline the process, and maintain good odor control, making diaper changes faster and cleaner.
Quick Tips to Speed Up and Keep the Process Clean
Speeding up diaper changes while keeping things clean is all about being organized and prepared. Start by choosing your preferred diaper brands that fit well and offer reliable absorbency. Keep a designated disposal method nearby, like a sealed bin or diaper pail, to contain odors and messes. Have wipes, gloves, and extra supplies within arm’s reach to avoid unnecessary trips. When it’s time to change, quickly remove the used diaper and fold it inward to contain leaks. Dispose of it immediately using your chosen disposal method to prevent spills. Regularly check your setup to ensure everything is stocked and accessible. These quick tips streamline the process, making adult diaper changes faster, cleaner, and less stressful.
Frequently Asked Questions
What Are the Best Cleaning Products for Diaper Changing Areas?
You should use gentle, eco-friendly products like mild disinfectant sprays and wipes to clean your diaper changing area. Look for options that promote diaper rash prevention and are free from harsh chemicals, ensuring safety for sensitive skin. Regularly disinfect surfaces with natural solutions such as diluted vinegar or plant-based cleaners. These choices keep the area sanitary, support environmental health, and help prevent diaper rash effectively.
How Often Should I Replace or Upgrade My Diaper Changing Supplies?
You should replace or upgrade your diaper changing supplies weekly to guarantee cleanliness and safety, as studies show bacteria can grow rapidly in damp environments. Keep diaper disposal tips in mind, and regularly check your emergency supply kit to replace worn or expired items. Doing so helps prevent infections and maintains hygiene. Staying proactive with supply updates makes diaper changes faster and cleaner, giving you peace of mind daily.
Can I Use Reusable Cloth Diapers in a Quick Change Setup?
You can use reusable cloth diapers in a quick change setup, but it may not be ideal. Cloth diaper benefits include eco-friendliness and cost savings, but they require more handling and prep time. For quick change tips, opt for pre-folded or all-in-one disposables if speed is a priority. If you choose cloth, keep supplies organized and ready to minimize delays, making the process smoother even with reusable options.
What Safety Measures Should I Follow During Diaper Changes?
You should always practice hand hygiene before and after each diaper change to prevent infections. Use gloves if necessary, and guarantee the diaper disposal area is secure and clean to avoid messes and odors. Keep supplies within reach to minimize movement, and sanitize the changing surface regularly. By following these safety measures, you create a safer, cleaner environment for both you and the person you’re caring for.
How Do I Handle Diaper Leaks Effectively During a Quick Change?
When a diaper leaks, act quickly to contain the mess and prevent further leaks. Use a clean cloth or wipes for quick cleanup around the area, and have an extra diaper ready to swap out immediately. To improve leak prevention, consider double-padding or using higher-absorbency diapers. This approach guarantees a swift, effective response, minimizing discomfort and maintaining hygiene during your next diaper change.
Conclusion
Mastering your diaper change routine transforms a chore into a quick, clean, and confident task. With a tidy setup, thoughtful organization, and a smooth system, you’ll save time and stay stress-free. Remember, prepping perfectly, positioning properly, and practicing patience pay off. So, keep your space simple, stay steady, and streamline your steps. Soon, changing becomes a cheerful, chore-free challenge—making every diaper change easier, cleaner, and more confident!